This DIY Key Holder makes it so simple to take just about anything that fits in with your decor style and turn it into a key holder!
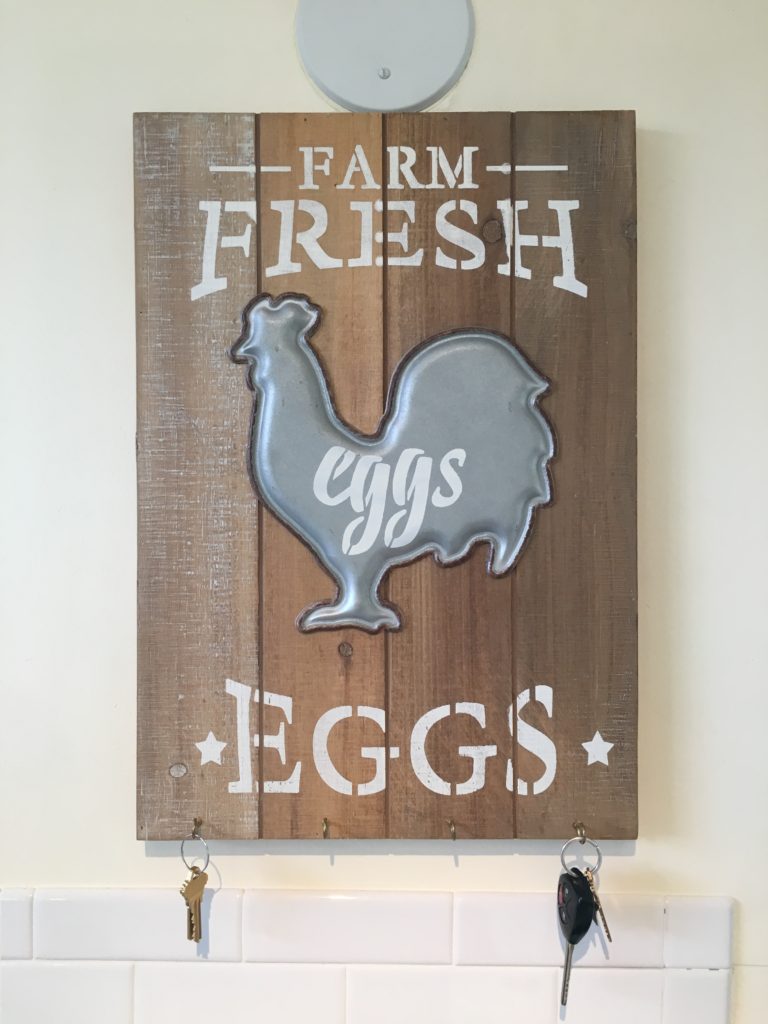
You guys – this DIY Key Holder is SO simple I almost didn’t post it. I was worried it was too simple of an idea and too short of a tutorial to bother with. THEN I realized how LONG it took me to figure this simple idea out, and realized I would be doing you a disservice if I didn’t share it.
Disclosure: Some of the links below are affiliate links, meaning, at no additional cost to you, I will earn a commission if you click through and make a purchase. Get my full disclosure here.
Smile. It is the key that fits the lock of everybody’s heart.
– Anthony J. D’Angelo
DIY KEY HOLDER VIDEO
DIY KEY HOLDER DETAILS
When I updated my kitchen I wanted to hang a key holder by the door so the counter top wouldn’t have keys scattered all over it all the time. I started my hung on Amazon, but didn’t find anything I liked. So I broadened my search internet wide, and I was still disappointed. I wasn’t finding anything that really fit in with the decor style I was going for. I wanted something more like art, but that I could hang my keys from. That’s when the light bulb went on.
I wanted ART that I could hang my keys from. Well, what if I made art into a key holder? Off to Hobby Lobby I went.
DIY KEY HOLDER MATERIALS/SUPPLIES
First and foremost, you need something you really like to look at. It can be just about anything solid and made of plastic or wood. You just need to be able to make holes in it, and it needs to be about 1/4″ to 1/2″ deep so a cup hook can screw into it. Here are some ideas of things you could turn into DIY key holders.
- Hangable art
- Shelves
- Signs
- Picture frames
- A tchotchke you can add hanging hardware to
- Get creative!!
I used this Farm Fresh Eggs sign I picked up from Hobby Lobby on clearance. It is wood-ish. I’m doubtful that it is actually made of only real wood because it had an odd feel when I started working with it. That doesn’t matter though – it worked out beautifully!
You’ll also need some cup hooks in whatever color you prefer. They also come in many sizes. I like 7/8″ for just about everything, so that’s what I keep on hand. They’re very versatile
TOOLS FOR YOUR DIY KEY HOLDER
You don’t need much. Just an awl and a hammer to start your holes.
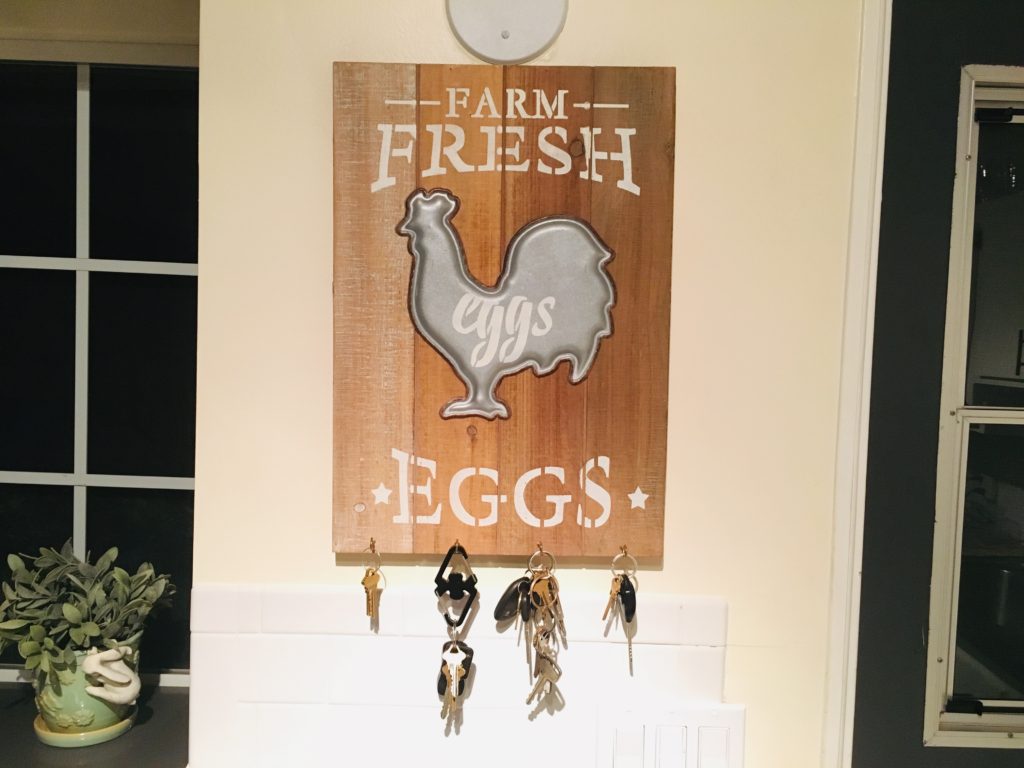
HOW TO ASSEMBLE YOUR DIY KEY HOLDER
Assembly couldn’t be easier.
- Decide how many hooks you want and where you want them
- Use your awl and hammer to start a small hole for each hook
- Screw your hooks into the holes
- Mount your key holder on the wall
EASY PEASY DIY KEY HOLDER
Was that too easy? Maybe. But did it get your brain moving in a direction it may not have been going before? I hope so. As I said, this blew my mind when I realized I could just turn whatever I wanted into a DIY key holder. I hope it gets your creative juices flowing and inspires you to take control of your decor. Don’t be a slave to the ready made industry!!
SHOP THIS POST
RELATED POSTS
DIY BARRETTE HOLDER
DIY FLOWER PEN
Thanks for stopping by!!
XO,
Morgan
The Cheeky Homemaker
JOIN THE COMMUNITY!
WANT SIMPLE IDEAS TO KEEP HOMEMAKING FUN, CHEAP & CREATIVE?
RECEIVE RECIPES, REAL LIFE CLEANING & FINANCE TIPS, AND IDEAS TO NOURISH CHILDREN’S MINDS AND BODIES – STRAIGHT TO YOUR INBOX!!
PIN IT FOR LATER



I think it’s great that you shared this! Sometimes we just need a new set of eyes on things. It looks so cute too!
Thanks! I’m so happy with how it came out. It’s so silly how much time I spent shopping for one before I realized how simple it would be to make it myself.