
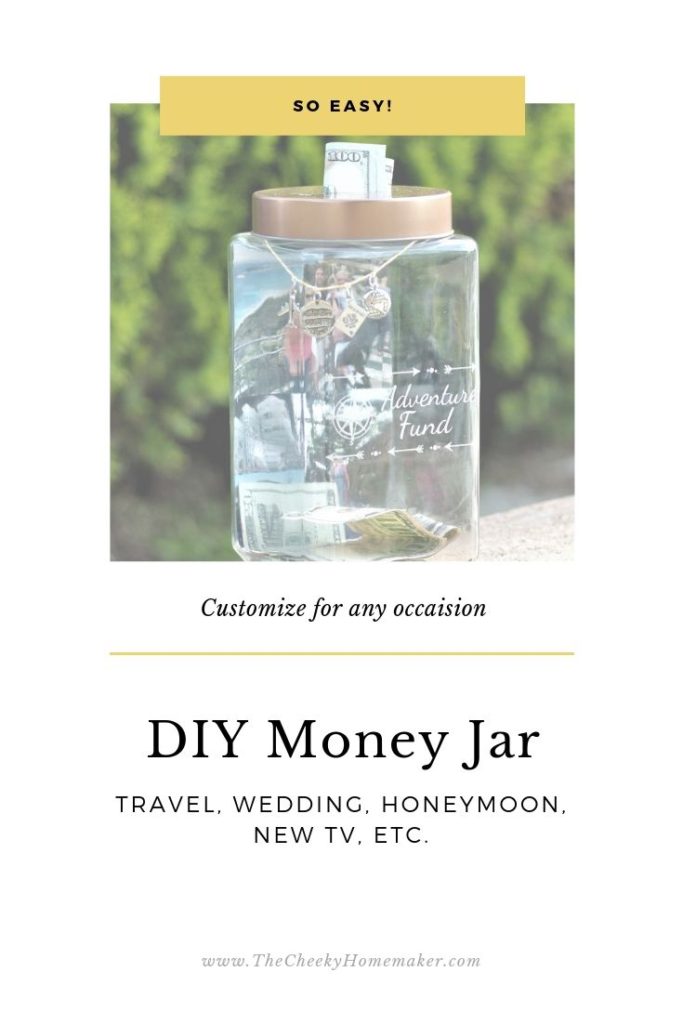

This easy tutorial will teach you how to make a money jar. You can use this method to create a money savings jar for any purpose. Save money for travel, your wedding, honeymoon, or anything else you’re saving towards!
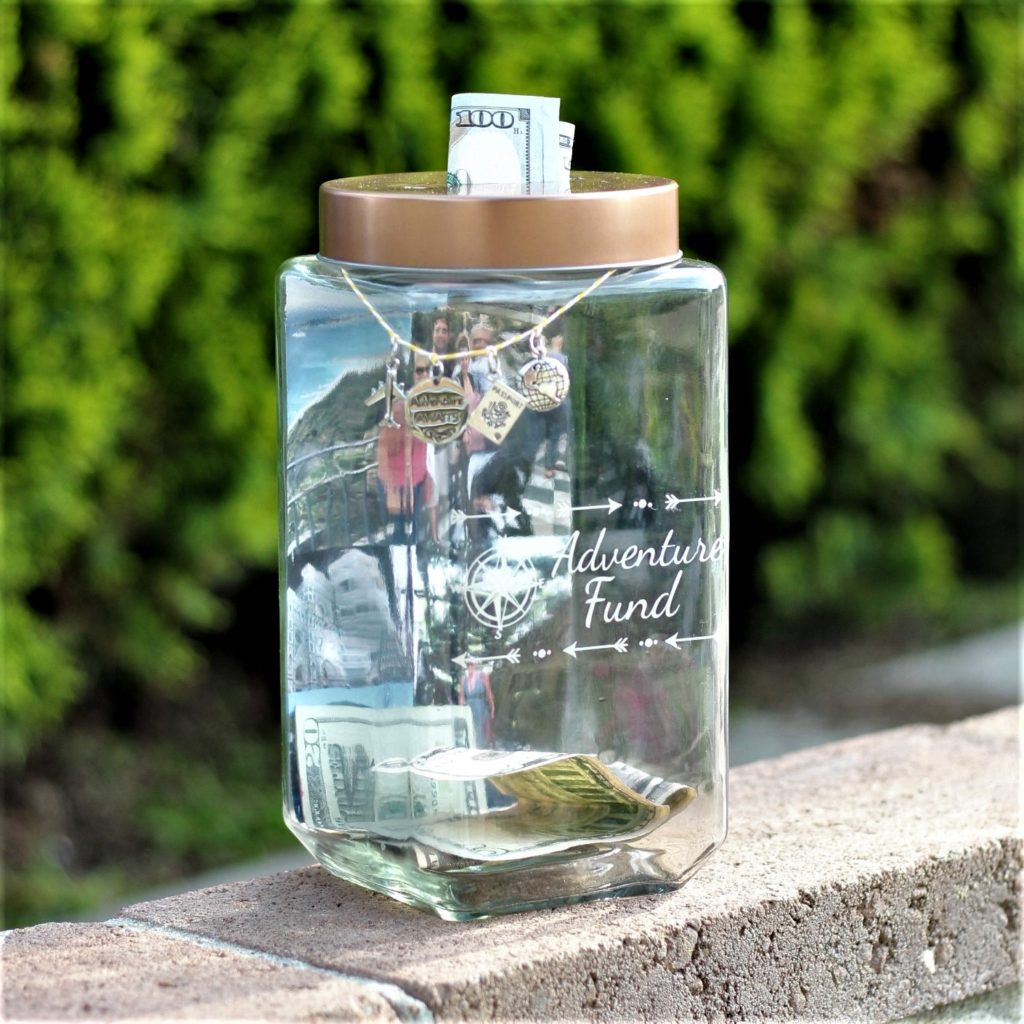
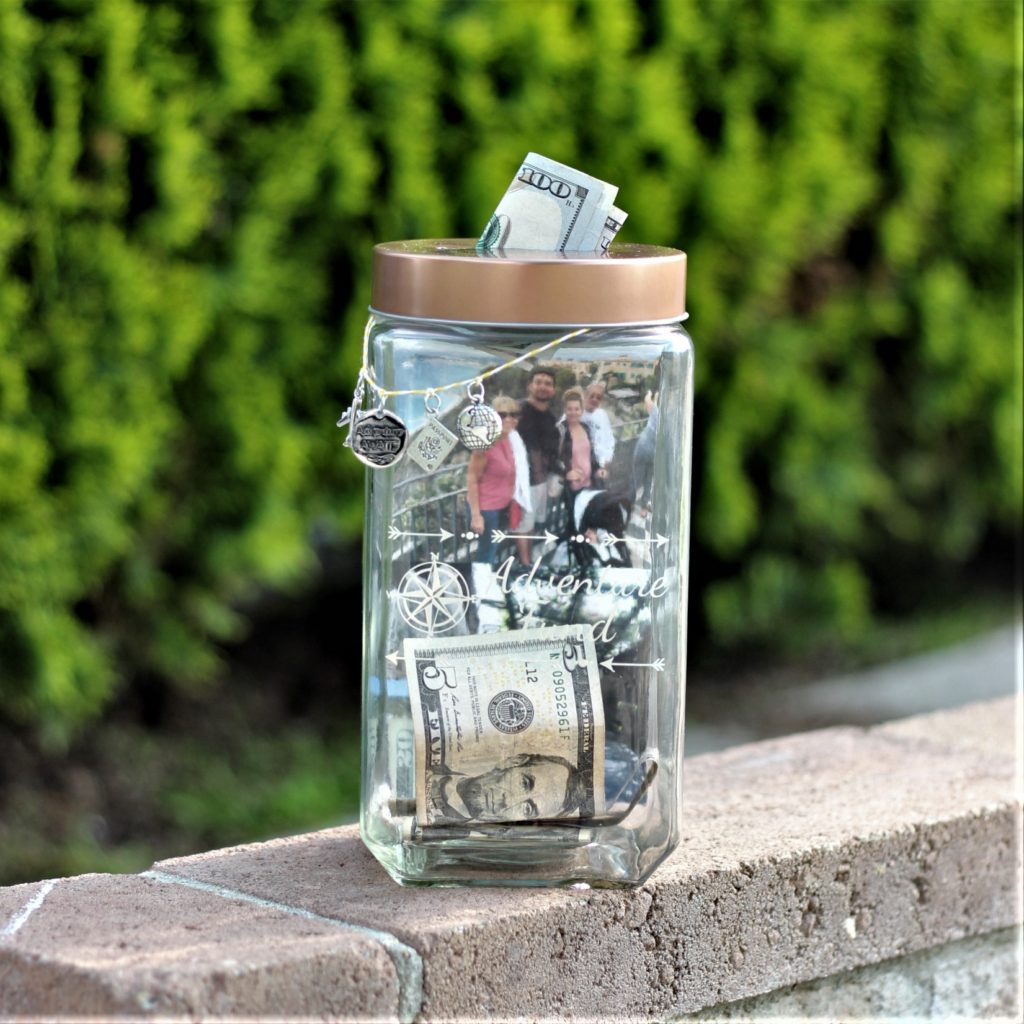
I made this adorable Adventure Fund jar for my mom for her birthday. This simple tutorial about how to make a money jar will teach you the method, and it can easily be customized to save up for travel, a wedding, a honeymoon fund, a special purchase you’re saving for – the sky’s the limit!
The art is not in making money, but in keeping it
– Proverb
Disclosure: Some of the links below are affiliate links, meaning, at no additional cost to you, I will earn a commission if you click through and make a purchase. Get my full disclosure here.
HOW TO MAKE A MONEY JAR – MATERIALS
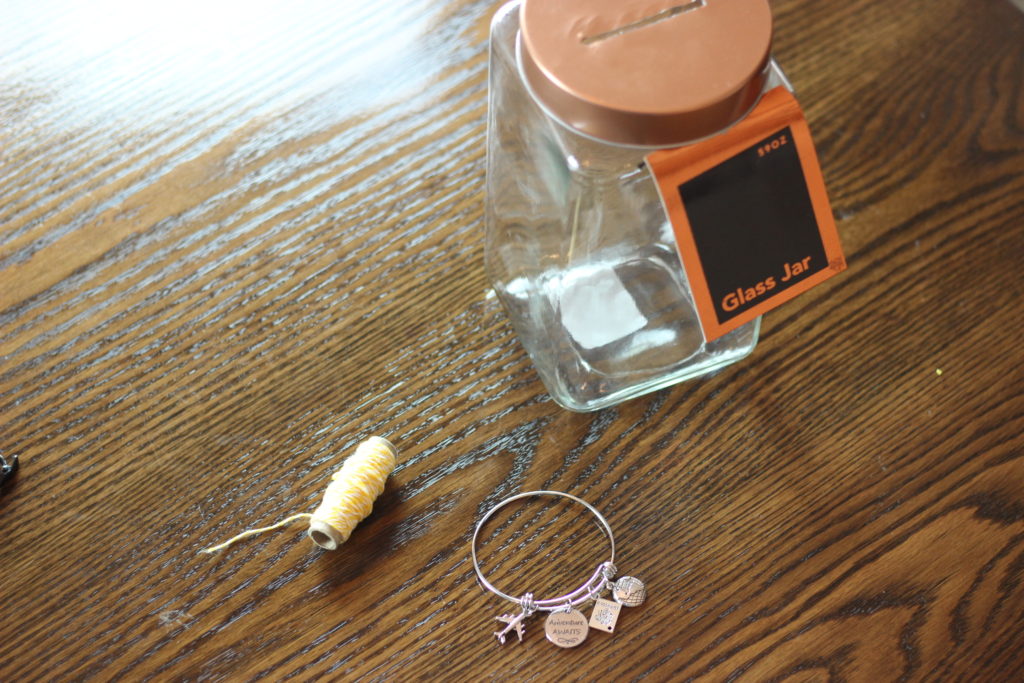
To make your money savings jar, you will need:
A Jar
I purchased mine at Home Goods for a few dollars. I recommend checking Home Goods, TJMaxx, Marshalls, Ross, etc. Hobby Lobby would probably also be a good choice, although I haven’t looked specifically for these sort of jars there. If you must shop Amazon, THIS canister set would probably work well. However, it has more jars than you need.
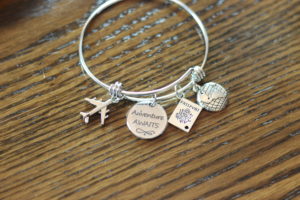
Charms
I purchased THESE and they were absolutely perfect. The trick is to search for a key chain instead of “charms”, because the charms that come up are for bracelets and are quite expensive.
– You can even get specific with charms for your exact destination. Here are some for PARIS, LONDON, & THE BEACH
– THESE would be great for a wedding fund jar
– For a beachy honeymoon, I would go with THESE
– If you want a general money theme, THESE and THESE are good options
String
I used yellow and white twisted string from the dollar store. You can use whatever you have on hand. TWINE/JUTE is always a good option if you’re going to purchase something just for this.
Photo paper or card stock
This is what you’ll print out your picture(s) on. This is for the back interior of the jar. You’ll also need scissors to cut it out.
Rubber Cement
RUBBER CEMENT is my favorite glue to use for projects like this. I learned about it when I took some interior design classes in college, and I’ve loved it ever since. You can even get a RUBBER CEMENT ERASER that will remove it from places it doesn’t belong. Usually just rubbing with your finger will do it too. Either way, you probably won’t need to remove any for this project. I just think it’s neat. lol
Vinyl cutout or markers for glass
This is the decoration for the front of your jar. Mine says Adventure Fund and has a compass and some arrows. Yours can say whatever you want. I have a Cricut, so I made my own vinyl cutout design. If you don’t have a Cricut and are set on vinyl, ETSY has some great options.
For a more simple option, you can just write/draw on the jar by hand. PERMANENT MARKERS would probably do the trick. You could get more creative with paint pens, but in my experience they sometimes scratch off, so be sure you know how yours work before going through all the effort.
HOW TO MAKE A MONEY JAR
Making a money jar is so simple. I love that you end up with something so personalized that you get excited about saving money!
HOW TO MAKE A MONEY SLOT ON TOP OF YOUR MONEY JAR
This took a bit of effort and a few of my husband’s tools. It is a little bit of a process, so since I know many of you may not want to do this step, I’ve written a separate post HERE where you can see exactly how I did it. If you don’t want to bother, you could always just remove the lid to put money in, or leave the lid off entirely.
HOW TO DECORATE THE FRONT OF YOUR MONEY JAR
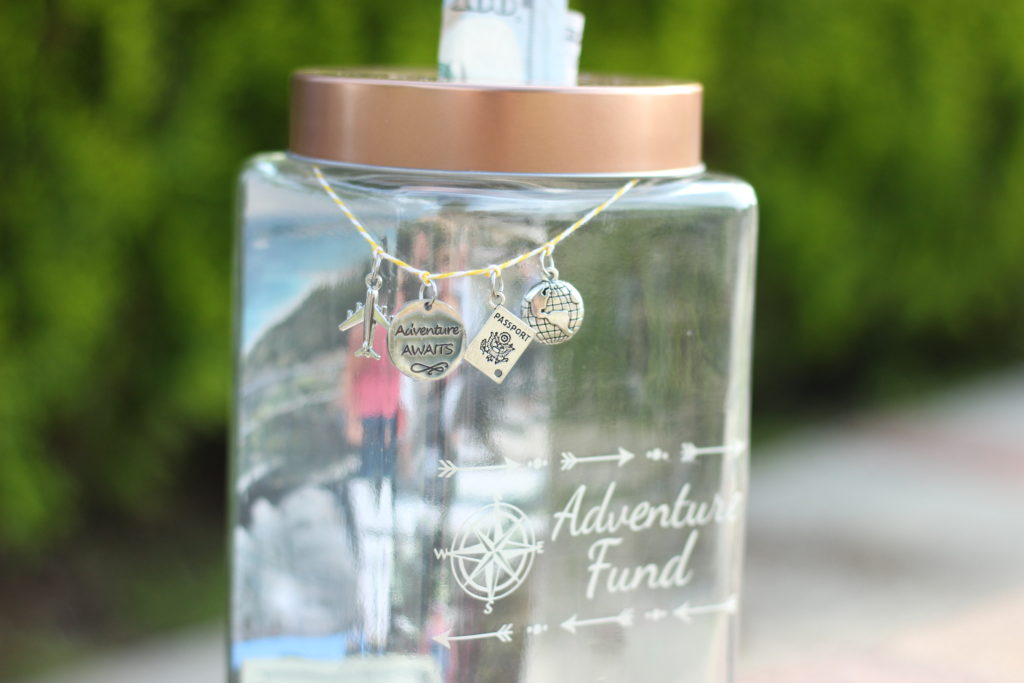
Because I happen to own a Cricut, I created a vinyl design for my Adventure Fund jar. If you’re really into the vinyl and don’t have the ability to do it at home, you can order things like this on Etsy. However, you could just as easily use permanent markers or paint markers to decorate your jar.
I cut the “bracelet” ring off my charms with some wire cutters, and I took each charm off so they were individual. Then I cut a string longer than needed to string my charms around the neck of my jar. Next I tied a small knot around each charm so they would stay separate from one another and not all pile together. I hung them off to the side instead of in the center, because I didn’t like it when they looked like a necklace.
Because my lid will not be removed to insert money, I was able to screw it on and it holds the string in place. If your lid will be removed to insert money, you should secure the string with a little glue. Just make sure you don’t get it in the way of the threads! Also don’t forget to leave the lid off until the glue is completely dry so it doesn’t get stuck on.
HOW TO PUT PHOTOS ON THE BACK OF YOUR MONEY JAR
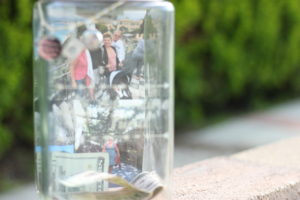
To put the photos in the back of your money jar, you will first need to measure what size you need the finished picture to be. Next you’ll open whatever program you prefer for creating art, and create a custom sized image to the measurements you just took. If you don’t have a go-to program, CANVA is amazing and free. You can either use one picture, or create a little collage. I used 3 pictures from our previous trip to Italy. Print it out on either card stock or photo paper. I had card stock on hand.
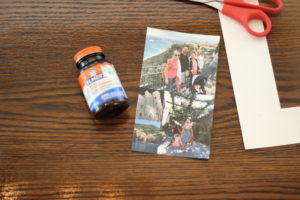
Next you’ll need to cut the picture out. Be nice and neat on the edges. Then you’ll cover the back of your photo with rubber cement, and then insert it and push it down to the back interior of your jar. Be sure to let it dry before putting on a lid, because it needs air to set.
That’s it! You now know how to make a money jar. Happy savings!
SHOP THIS POST
JAR SET
TRAVEL CHARMS
PARIS CHARMS
LONDON CHARMS
WEDDING CHARMS
HONEYMOON CHARMS
DOLLAR BILL CHARMS
MONEY BAG CHARM
TWINE/JUTE
RUBBER CEMENT
RUBBER CEMENT ERASER
PERMANENT MARKERS
RELATED POSTS
HOW TO CUT A MONEY SLOT
DIY KEY HOLDER
DIY BARETTE HOLDER
STORE BOUGHT CAKE MAKEOVER
DIY FLOWER PENS
PIN IT FOR LATER
HOW TO MAKE A MONEY JAR VIDEO
Thanks for stopping by!!
XO,
Morgan
The Cheeky Homemaker
what a great idea! I could totally see my kids getting into this project!
Thank you! I hope you try it!
I just love my money jar ……..thank you my wonderful daughter.
You’re very welcome Momma! XO