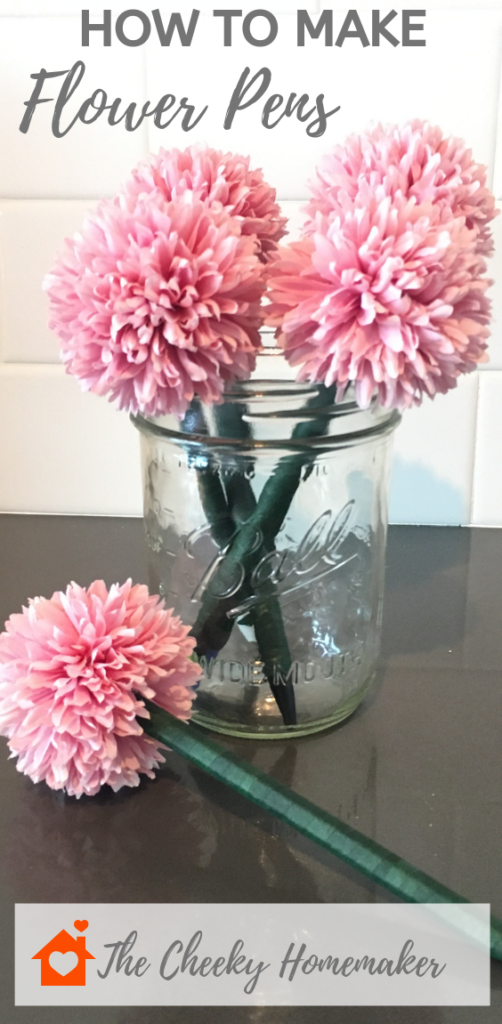
These DIY flower pens are SO easy to make and look so pretty on display in a simple vase or mason jar to make a flower pen bouquet. They will keep you smiling whether you’re writing a love note or doing your (dreaded) taxes!
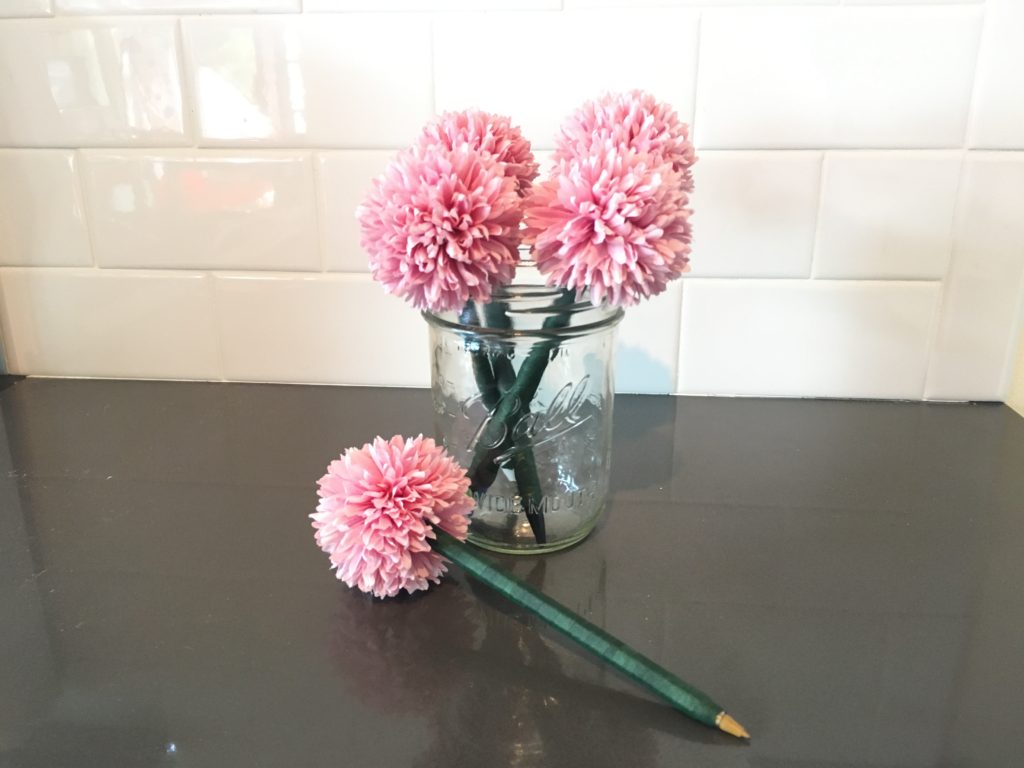
My daughter absolutely adores fancy pens. I have to admit – they make me smile too! I’ve spent good money on many styles, from flower pens to fuzzy pens. They all end up the same way – LOST or broken! So, I figured it was about time I resurrect a craft I did as a child in Girl Scouts, and make our own! They’re much more cost effective this way, and we can do whatever flowers we want! Plus, they’re getting us in the mood for spring!!!
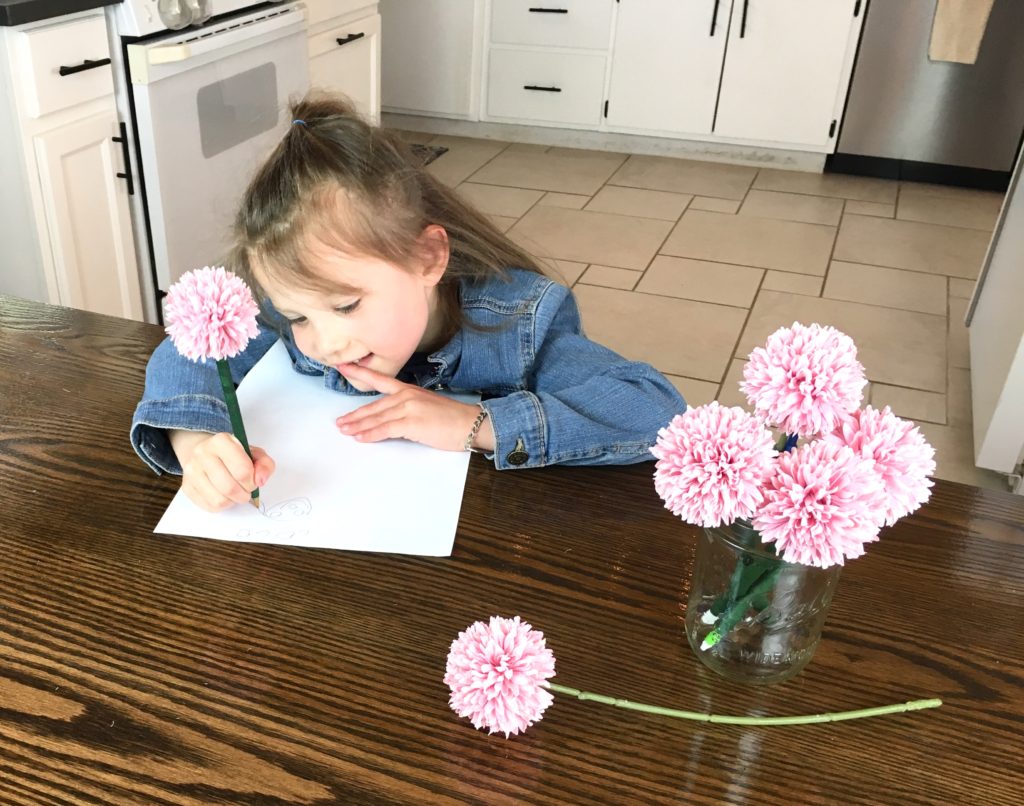
The flower doesn’t dream of the bee. It blossoms and the bee comes.
– Mark Nepo
Disclosure: Some of the links below are affiliate links, meaning, at no additional cost to you, I will earn a commission if you click through and make a purchase. Get my full disclosure here.
DIY FLOWER PENS VIDEO
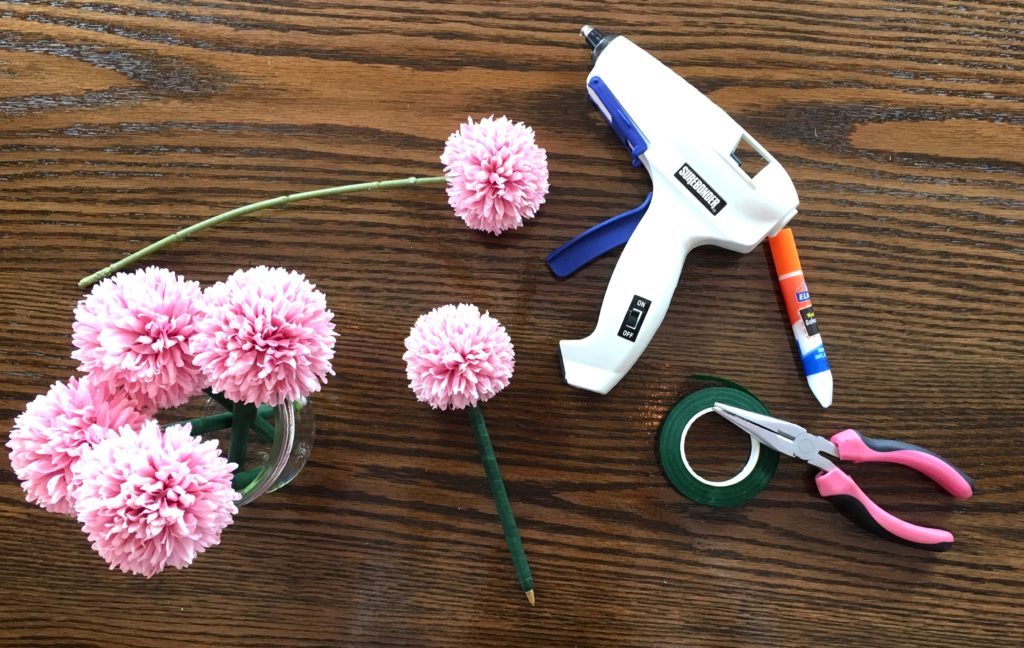
SUPPLIES YOU NEED FOR YOUR DIY FLOWER PENS
- Pens
- Artificial Flowers
- Florist Tape
- Regular School Glue
- Wire Cutters OR Heavy Duty Scissors
- Hot Glue Gun (OPTIONAL)
THE PENS for DIY FLOWER PENS
Does anybody else have a bunch of pens lying around the house that they don’t really like? I have one kind of pen that I love (note: they’re not a good choice for this project) – fine point RSVP pens by Pentel. They have been my favorite for over a decade. Yet somehow, for every 1 of my favorite pens, we have about 5 other pens floating around. They come from my husband’s pockets, from the depths of my purse, and from hotels we stayed in years ago.
I refuse to throw them away. They work perfectly fine, and I don’t want to fill up the trash with a bunch of perfectly good pens, and then go spend a bunch of money on pens I like better. Because, let’s face it, they’re just pens. But on the other hand, life’s too short to always use a pen you don’t like. So I’m very excited to fancy these second rate pens up by turning them into flower pens!
The best pens to use for your DIY flower pens are the kind with caps (although possession of said cap isn’t necessary – lost caps are no problem). However, I decided to also turn some click pens (with the little button on the top) into flower pens, because for some reason we had a lot of those around the house. I’m all for getting creative and working with what you already have when possible. If you are purchasing something specifically for this project, a pen with a cap would be your best bet.
THE FLOWERS for DIY FLOWER PENS
Pretty much any flowers will do. You’re going to be cutting the stem down to size, so you don’t have to worry much about that. Just make sure they have at least a couple of inches of stem, and that the flower isn’t so big that it will be cumbersome when on the top of a pen you’re using for writing.
FLORIST TAPE for DIY FLOWER PENS
I used 1/2″ wide dark green florist tape, but you can use any color you want!
TOOLS for DIY FLOWER PENS
You’ll need something to cut the flower stems down to size. I prefer to use wire cutters, but you certainly don’t need to go out and buy them if you don’t already have them. A sturdy pair of scissors and a lot of pressure will normally get the job done. Just please watch your fingers.
You will only need a hot glue gun if you choose to insert the flowers down into the pens. If you want to mount it along the side of the pen, you can skip this item.
I also use a small dot of regular school glue for each pen.
ASSEMBLING YOUR DIY FLOWER PENS
OPTION 1
HOW TO MAKE A DIY FLOWER PEN BY INSERTING THE FLOWER INTO THE PEN
This method centers the flower perfectly on the pen. However, it takes a bit more work (but it’s still really simple). You cannot use a pen with a top clicker for this method.
- Pop end cap off the back end of the pen. The end doesn’t have to be pretty, so go ahead and get aggressive. I like to use scissors to make a gap between the pen and the end cap and pry it off from there.
- Cut the flower stem to length. Leave it as long as you can, but it will probably have to be pretty short because it will hit the internal part of the pen that holds the ink.
- Wrap the pen with the florist tape. I like to start from the bottom (or the part closest to the writing tip). It won’t stick to the pen well directly, but instead it sticks to itself. When you stretch it out it sticks better, so be sure to use a bit of tension while you’re wrapping. Make sure each wrap generously overlaps the previous rotation.
- Use a small dot of glue to secure the end of the florist tape. It will probably stick to itself fine, but I’d rather be safe than sorry.
- Use your hot glue gun to run a small bead of glue around the back (open) end of the pen where you removed the end cap.
- Insert flower into pen and press onto glue. Let dry before use.
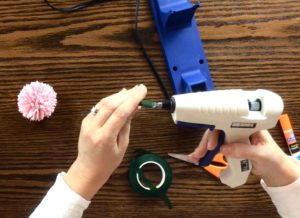
OPTION 2
HOW TO MAKE A DIY FLOWER PEN BY MOUNTING THE FLOWER ALONG THE SIDE OF THE PEN
Note: You can do this method with either style of pen (clicker top or standard cap)
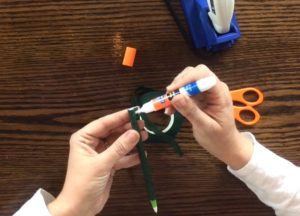
- Cut flower stem to a length. Most click top pens have a clip on the side. I generally cut the flower stem to begin at the bottom edge of that built in clip, and I like to let the flower float a bit above the top of the pen to leave some clearance for reaching the click button.
- Use a small amount of florist tape to mount the flower to the side of the pen to secure it for easy handling while you complete the project
- Starting near the writing tip of the pen (but not covering it), begin to wrap the florist tape around the pen. It won’t stick to the pen very well, but instead will stick to itself. The more you stretch it the better it grips, so be sure to use a little tension while wrapping.
- Continue wrapping the pen all the way up. I like to do a few wraps around the portion where the flower stem begins to make the transition smooth, and also at the very top to add a bit of strength.
- Use a small dot of glue at the end of the florist tape to be sure it doesn’t unravel.
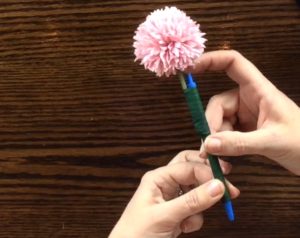
SHOP THIS POST
Artificial Flowers
Florist Tape
Glue Pens
Cordless Glue Gun (mine’s old, but here’s the new version)
RELATED POSTS
Welcome Spring! Celebrate the changing of the seasons
SUBSCRIBE TO THE NEWSLETTER!
Join The Cheeky Homemaker community to get new fun projects and ideas straight to your inbox!
PIN IT FOR LATER
Thanks for stopping by!
XO,
Morgan
The Cheeky Homemaker

Very clever idea for all those extra pens we all have.
Thanks! Mine make me so happy. Now I have a flower vase instead of a pen cup!! Enjoy.