Learn how to cut a money slot in a lid so you can turn any jar into a money savings jar!
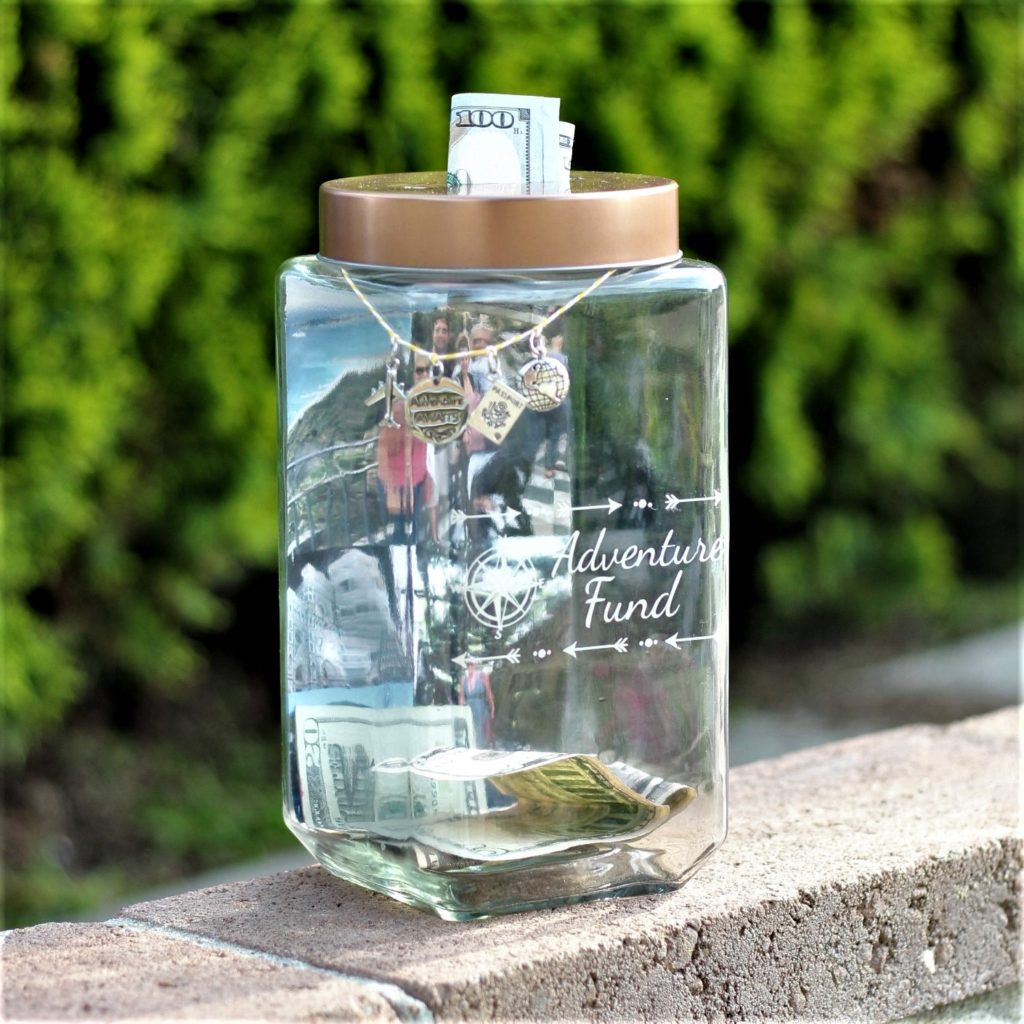
I recently did a post on how I made this DIY Money Jar (find it HERE). The only part I didn’t cover was how I cut the hole in the jar lid. I wanted to be able to go over it in detail, so if you’re looking to learn, keep reading!
HOW TO CUT A MONEY SLOT IN A LID
I will admit that this was a little out of my wheelhouse. I talked it over with my husband and asked to borrow a few tools. After promises that I would maintain all of my fingers, he obliged. It turned out to be much easier than I anticipated, so I thought I would share it here in case anyone else if feeling a little overwhelmed by this prospect. You can do it!!!
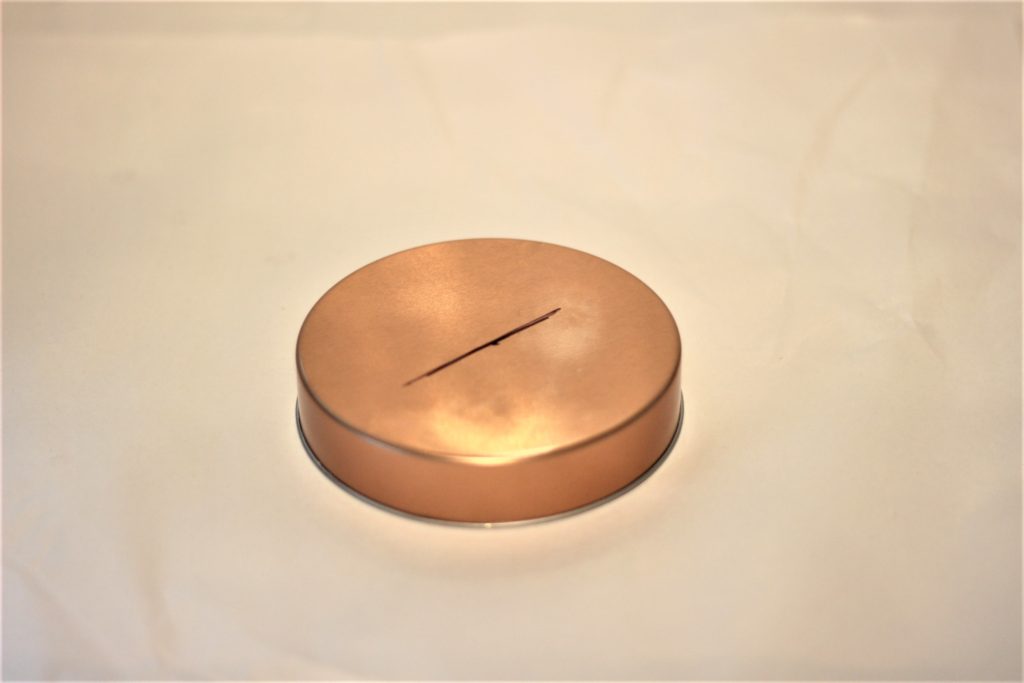
Step 1 – Mark your slot
Mark your lid where you want to make your money slot. If your jar is square, make sure you screw the lid on before you mark it. That way the slot will be going in the correct direction.
Step 2 – Drill some holes
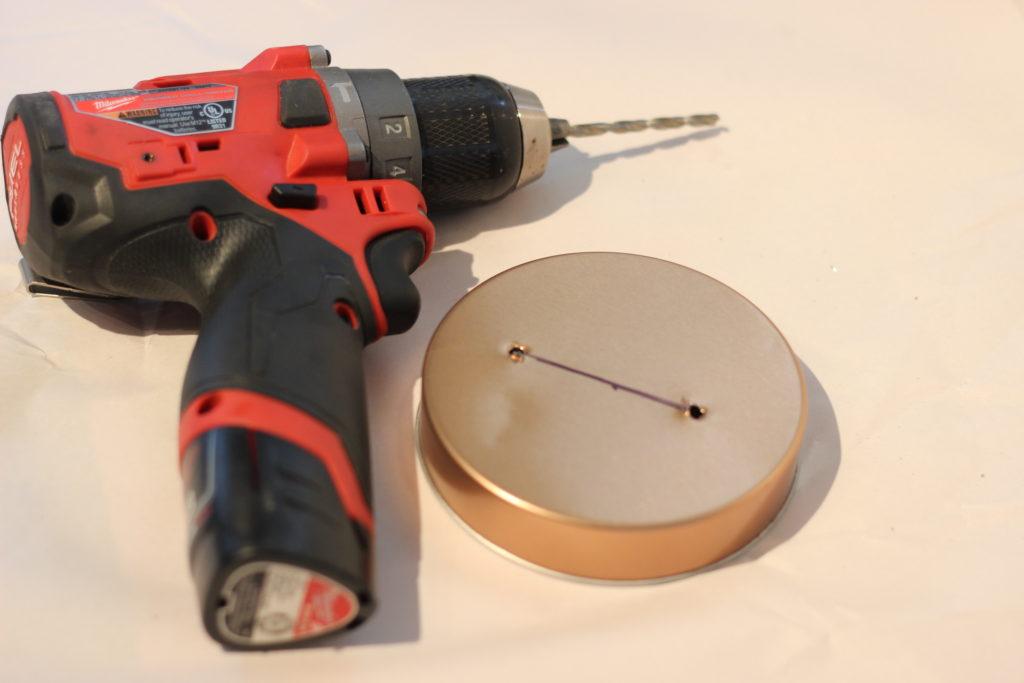
I wanted to make sure either end of my money slot had a nice round edge. I’m doubtful I would have been able to do it nicely with the dremel. I used a drill bit to make holes on either end to accomplish this. It worked nicely.
Step 3 – Cut the money slot with a dremel
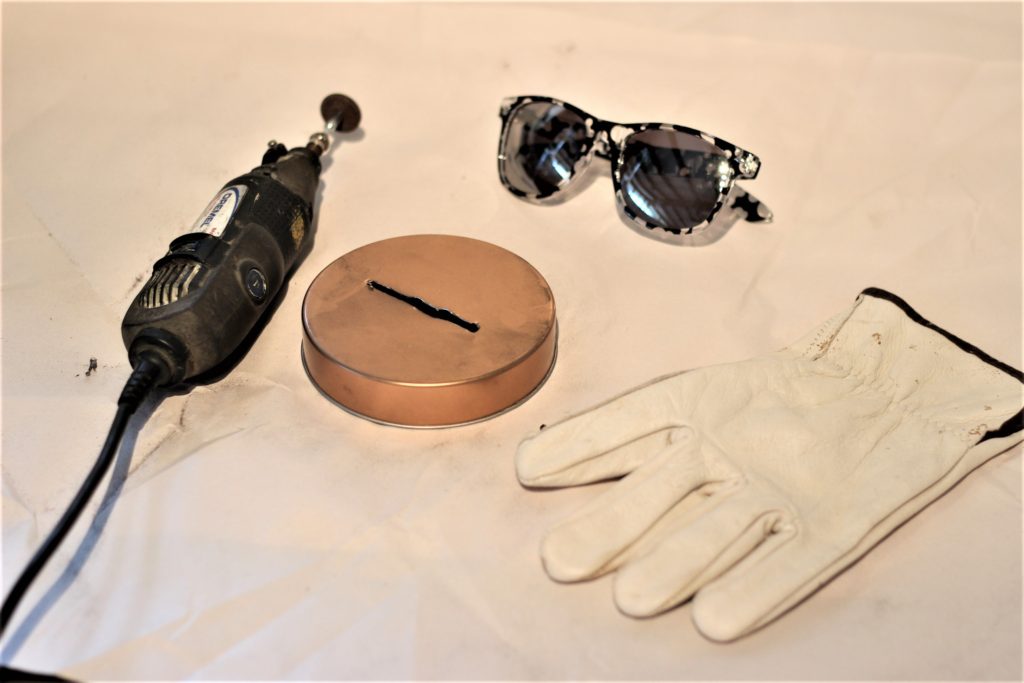
I used a dremel to slowly cut the slot for the money. Don’t forget eye and hand protection! It took a little bit of time, but not much effort. There were sparks, which was fun for a girl who doesn’t often get to use power tools!
Step 4 – Smooth the rough edges
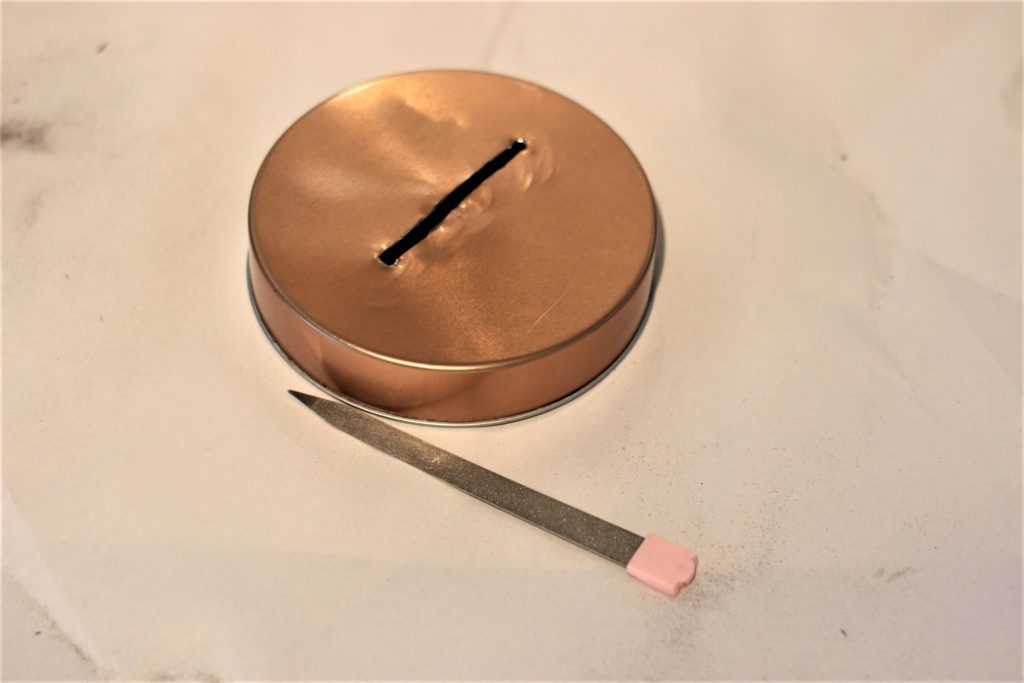
After cutting the slot with the dremel, the edges will probably be pretty rough. I didn’t want anything that could cut a finger. I would and should have used a metal file. BUT we didn’t have one on hand. So I grabbed this old nail file and it worked just fine. Use what you’ve got, right?
Step 5 – Pound it flat
If you look closely at the previous images, you’ll see a couple things. First, the edge is a little warped/wavy after cutting it with the dremel. Second, in the picture with the nail file, you can see that there are indentations around my money slot. This is where you will learn from my mistakes. I turned the lid upside down and used a hammer to pound the wavy edges flat. However, I forgot to use something between the lid and hammer to protect from hammer marks. I know this through and through when working with wood, but the knowledge escaped me in this project. Use several layers of folded paper or cloth to prevent the edges of the hammer from leaving telltale marks in your lid. Just make sure it isn’t so thick that it absorbs all the impact and prevents you from flattening the ripples out.
You’re done! Now you know how to cut a money slot in a lid. Happy creating everyone! If you want to check out exactly how I made this adventure fund jar, (which could be customized for any purpose such as a wedding, honeymoon, large purchase, whatever) click HERE!

RELATED POSTS
HOW TO MAKE A MONEY JAR
DIY KEY HOLDER
DIY BARETTE HOLDER
STORE BOUGHT CAKE MAKEOVER
DIY FLOWER PENS


Leave a Reply